Before you wrap
How Much to Wrap a Car Yourself: The Real Factors Behind DIY Wrapping
Published
When researching how much to wrap a car yourself, the real investment extends far beyond a roll of film. DIY wrapping eliminates the labor fees charged by a commercial shop, but it introduces a distinct set of material requirements, tooling demands, and physical risks that directly influence your total commitment.
Understanding the components of a self-install allows you to plan accurately, avoid wasted material, and choose a finish that fits your skill level.
Roll Length and the Inevitable Learning Curve
A professional installer orders enough vinyl to cover the vehicle with minimal excess because they rarely miscalculate a stretch or tear an edge. When you wrap a car yourself, the equation changes. Beginners must account for panel recuts, overstretched edges, and accidental creasing.
Complex contours such as front bumpers, side mirrors, and deep door handle recesses frequently require a second or third attempt. If a full-size passenger car requires a standard roll length, a self-installer typically needs substantial surplus material to absorb installation errors. Running out of film mid-project can mean waiting days for additional stock, risking color variations between different production lots.
Tools, Workspace, and Surface Preparation
The vinyl itself is only one part of the setup. Wrapping a vehicle requires specific equipment to achieve clean edges and prevent premature lifting:
- Surface Preparation: Isopropyl alcohol mixtures, clay bars, and dedicated degreasers are necessary to eliminate road grime, silicone residues, and wax from every seam.
- Application Hardware: Squeegees with replaceable felt or microfiber buffers prevent surface scratches during smoothing.
- Heat Management: An adjustable heat gun or infrared thermometer is critical to soften vinyl into recesses and post-heat edges to their memory-setting temperature.
- Trimming Supplies: Knifeless cutting tape protects original factory clear coat around panel gaps, while fresh stainless steel blades ensure clean corners.
- Controlled Environment: A clean, enclosed workspace shielded from direct sunlight, wind, and airborne dust is essential. Installing outdoors or in a dusty space ruins vinyl adhesion and traps debris beneath the film.
Film Formulations and Finish Complexity
The specific vinyl product you select plays an enormous role in how manageable the project will be. Different manufacturers engineer their films with distinct thicknesses, adhesives, and release liners.
Films designed with slideable, air-release adhesives allow you to reposition panels repeatedly without tearing the glue layer. Products from Avery SW900 (featuring 150 colors in the catalog) and 3M 2080 (92 colors) are widely noted for forgiving initial tack and flexible handling. Brands like KPMF (112 colors) and Inozetek Vinyl (154 colors) offer striking visual depth, but their characteristics may demand tighter temperature regulation and firmer squeegee technique.
Finish selection also impacts the difficulty and margin for error:
- Matte and Satin Finishes: Colors like Metro Lilac (K75580) by KPMF in Matte or Carmine Red (438) by Avery SW900 in Satin show fewer optical ripples but can be permanently marred if heated unevenly or scrubbed with harsh squeegee pressure.
- Gloss and High Gloss Finishes: Options like glossy night blue metallic (196G) by Orafol 970RA in Gloss or High Gloss Blue Raspberry (HG378) by 3M 2080 in High Gloss provide paint-like reflections. However, improper stretching can result in visible hazing or adhesive distortion.
- Directional Metallic Tones: Metallic flakes shift appearance depending on orientation. If you wrap adjacent doors in opposite directions, the panels will look mismatched in daylight.
Across the 789 colors in our catalog, finishes range across Gloss (273 colors), High Gloss (213 colors), Matte (167 colors), and Satin (104 colors), each posing unique handling characteristics on complex body panels.
Why Swatches and Photos Mislead DIY Planners
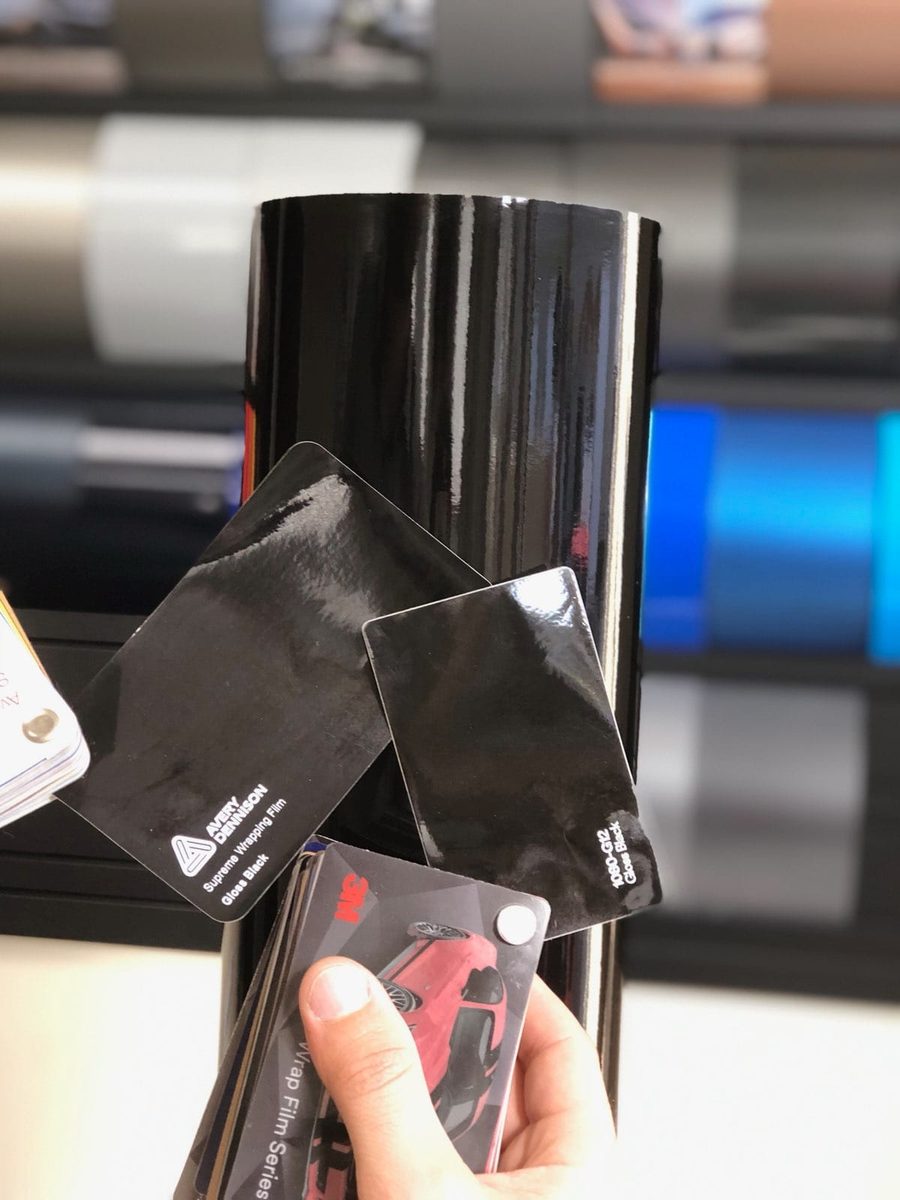
A small physical swatch booklet held next to a door gives an incomplete picture of how a color sits on a car. A sample swatch cannot demonstrate how light sweeps across a concave rocker panel, or how a sharp fender line highlights metallic flake.
Similarly, photos found online rarely tell the truth about a shade. Camera sensors, post-processing filters, and artificial showroom lighting distort colors significantly. A shade that looked soft and muted on a flat-sided truck in a photo may appear aggressive and harsh across the curved fenders of your coupe.
Committing to an entire roll of vinyl based on a small square or an edited image is a common misstep in DIY planning. Once the roll is cut, it cannot be returned.
Previewing Your Color Before You Buy
Before investing in rolls, specialty squeegees, and surface prep supplies, you need to verify how your chosen finish interacts with your exact vehicle.
With WrapUp AI, you can upload a photo of your own car in your real surroundings and test real manufacturer colors directly against its curves and body panels. Seeing the hue mapped across your hood, doors, and bumpers shows you where shadows fall and how reflections form. Keep in mind that a rendered image provides an aesthetic impression rather than an exact physical color match, giving you the context needed to move forward with confidence.
You can test three renders for free with no account needed to start. Explore the catalog and visualize your project at WrapUp AI.
See any car in any wrap colour — three renders free. Try WrapUp AI